 My first bespoke order
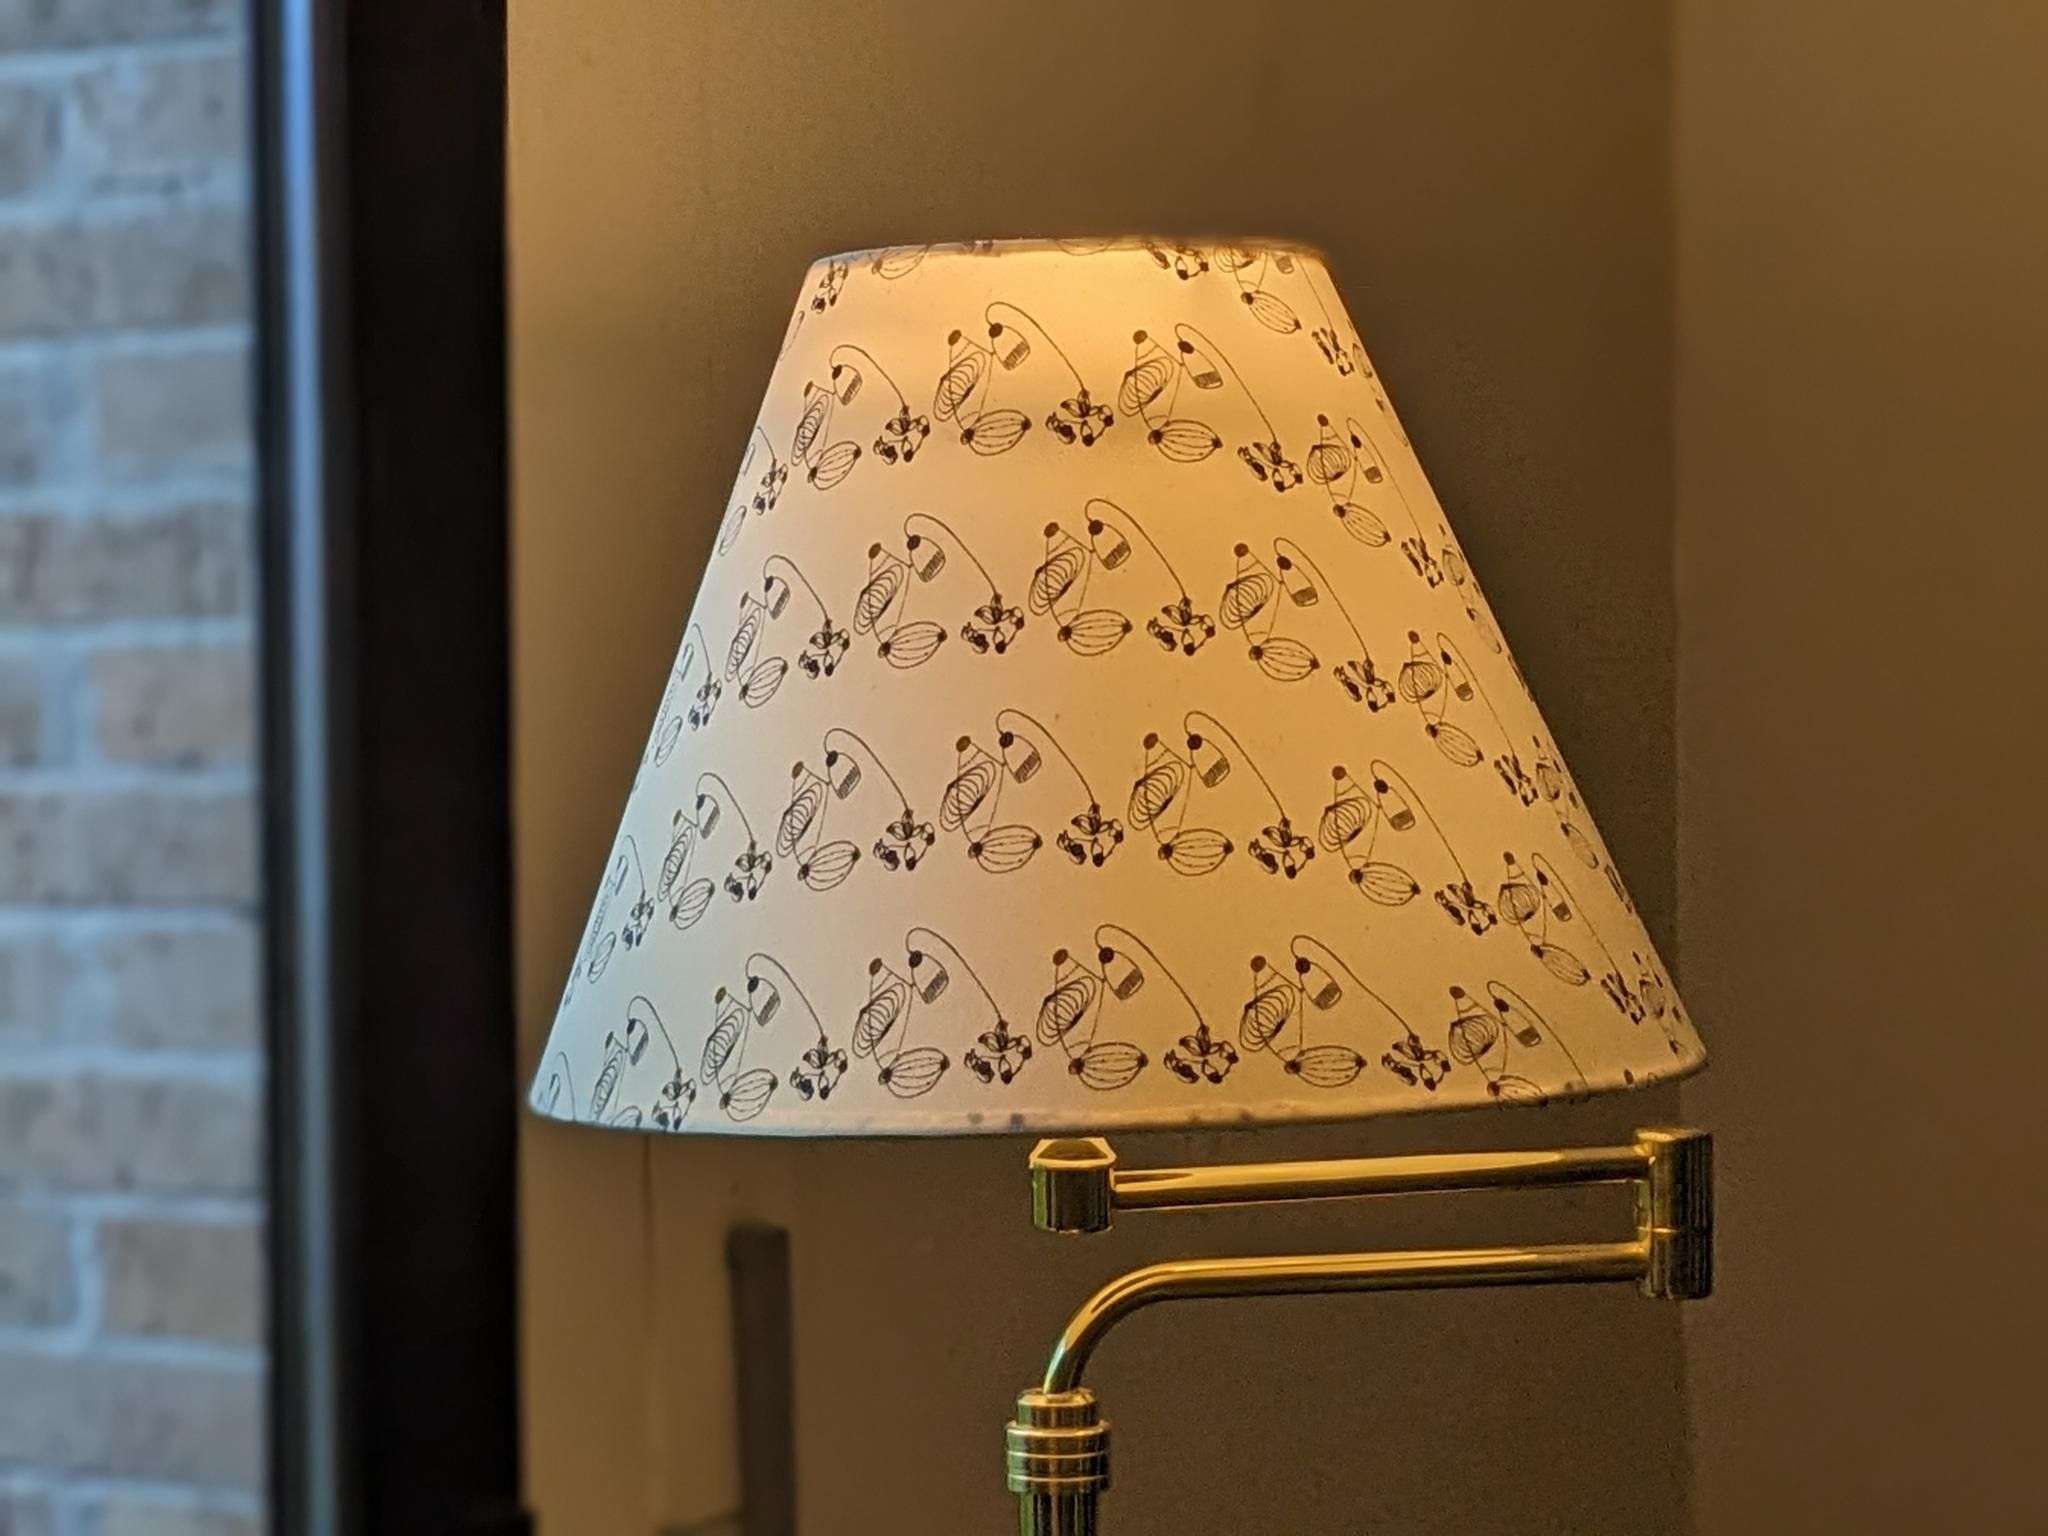
I recently received an order for a replacement shade here in Madrid. This was a different style of shade to the ones I sell in my shop. It was a cone shape, which as anyone who makes lampshades and hates maths knows is a bit more involved than the drum shape. I have only made one cone shade before and that time I had a template from an old shade. Easy. Now I had to do maths. I always hated maths at school because I was pretty rubbish at it, but I think I had just convinced myself I wasn’t good because I was arty. Apparently back then you couldn’t be arty and like maths and you couldn’t like sport either. So I didn’t like P.E. Now I quite like maths, I like logic and things that have a concrete solution. The universal truths I cling to in this crazy upside down world we now live in are somehow comforting to me.
The Equation
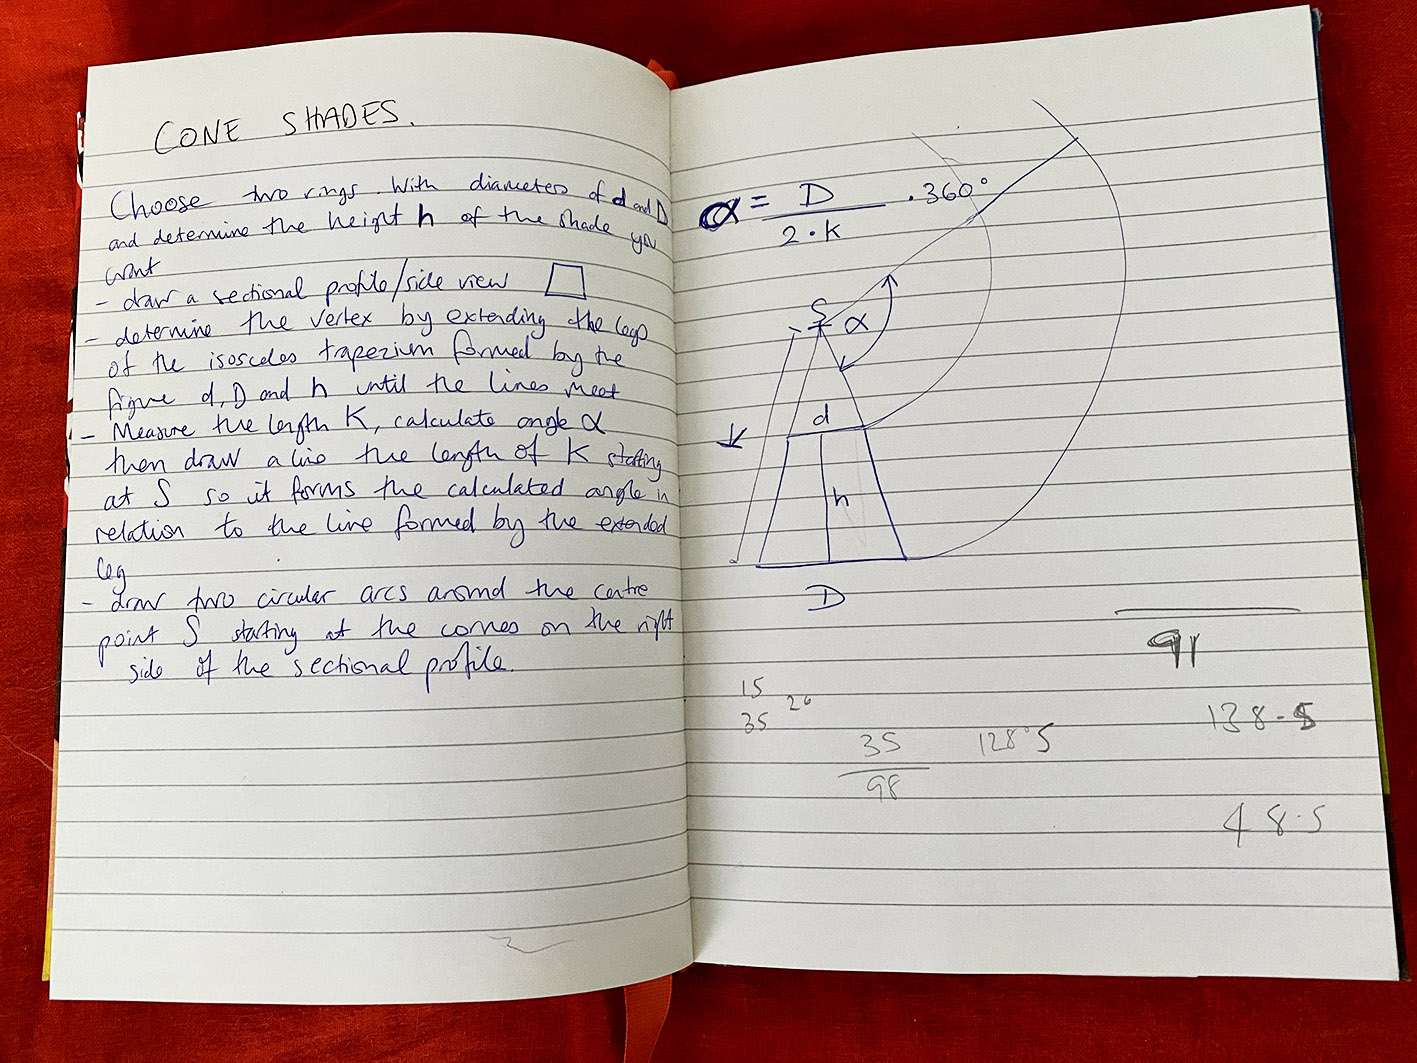
With the given measurements I searched for the mathematical equation for drawing up the template needed to cut my fabric and backing plastic. Some websites made no sense to me in the way they explained it – far too convoluted – but I found this set of clear instructions which I jotted down in my lampshade making notebook for easy access later.

Wow! My handwriting is almost legible here.
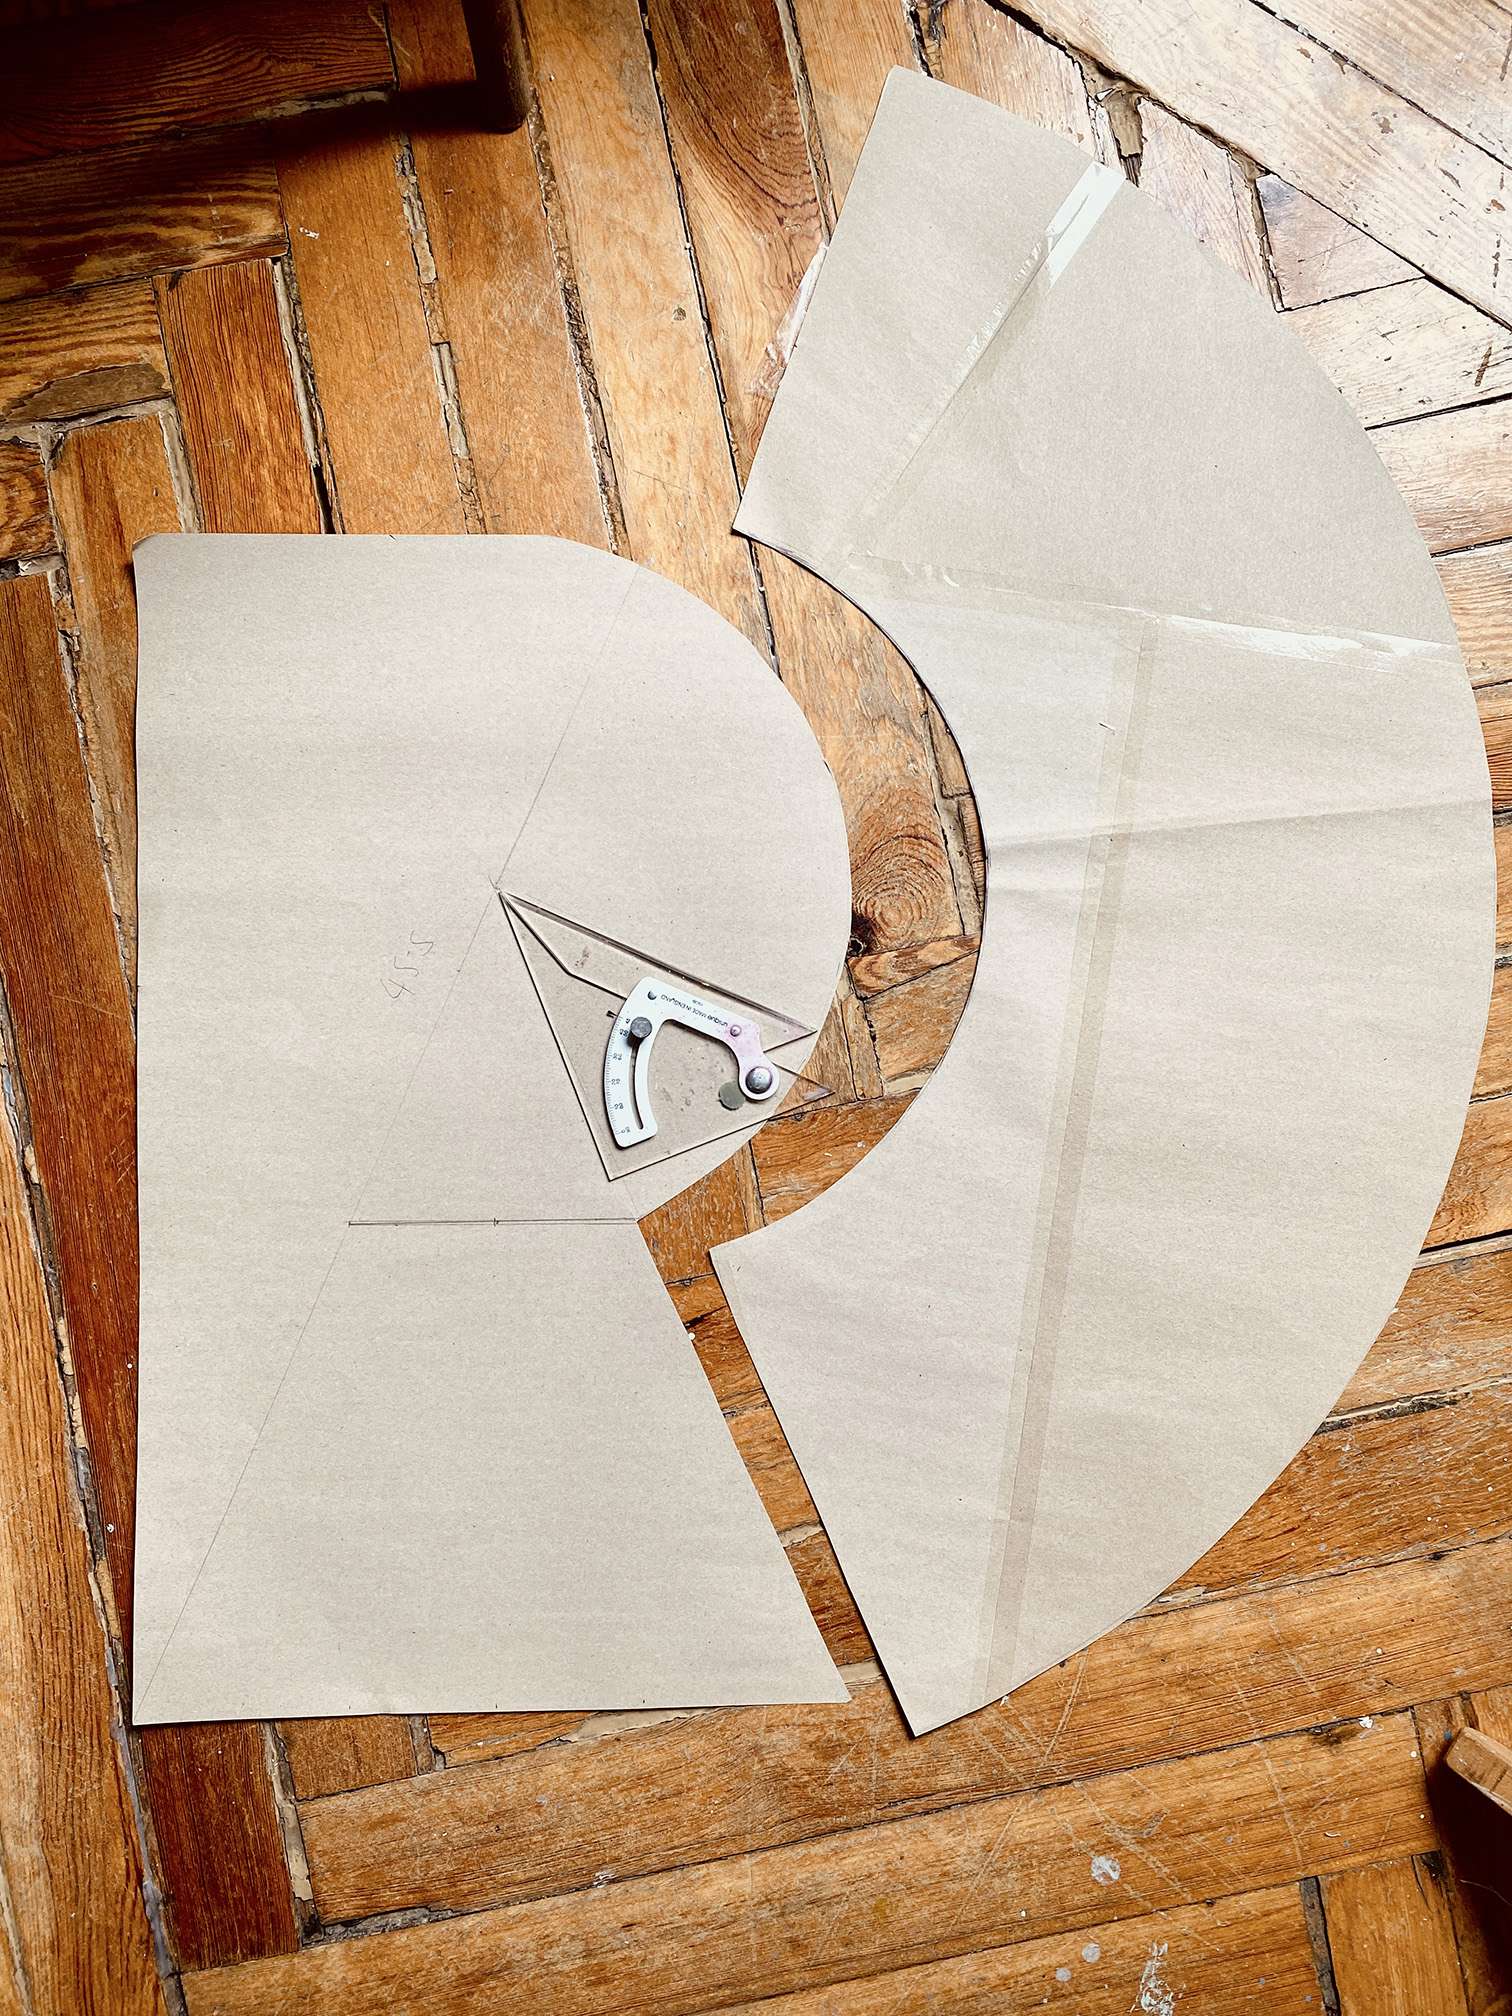
Fortunately I had a protractor in my toolbox and drew up the triangle shape with the measurements – 35cm diameter for the base of the shade and 15cm for the top and then calculated the angle. After I made a shade with these measurements it transpired that the top was slightly too wide for the 15cm ring. So I drew up another triangle with a 14.5 cm diameter and that fit more snugly.
As you can see the cone template covers a large area, so you end up with a lot of unusable materials that go to waste. And you need a large table for bigger shades, or get on your knees and work off the floor. With the calculated angle you have to draw two arcs from the starting point on the triangle, so it is basically a section of a circle. I didn’t have a giant compass to hand (remember those huge ones teachers had at school in the 80’s that they used with a piece of chalk on the blackboard?) so I attached a pencil to a piece of string and drew 2 not exactly accurate circles. You do need to be very accurate with these measurements unfortunately so I had to take care over this part and keep the string and pencil straight as possible. In the end I had to fix the shape of the plastic backing slightly after fitting it onto the rings, which is why a trial run is advisable. Maybe with using a giant compass it would have fitted perfectly…

yes my floor is very old and wooden. I didn’t actually perform the complex drawing down here. Display purposes only.
Using Silk Fabric
Because the first shade had the wrong measurements and I was using expensive silk material which I didn’t have much of, I didn’t want to risk making another error with it, so as I already mentioned I did a test run with the new template shape with some cheap fabric I had plenty of. It fit almost perfectly so after cutting a slightly deeper curve in one part of the top I removed the test fabric and went ahead with a bit more confidence sticking the silk to the sticky backed plastic. The silk was quite tricky to stick on perfectly smoothly because it’s so fine but I had figured out a technique of pulling it taught as I stuck it down. To my relief it was a good finish and I think it really suits the brass lamp base. It looks really classy and luxurious, quite a different look to my other designs. There is one problem, isn’t there always something? Some patterns don’t work so well on large cone shapes because the direction changes as you go around the shade. An icon that begins vertical on one side can end up on its side or at least diagonal by the time it gets to the other side. So randomised patterns work better than directional grid based ones.


